Your First Trip
In this guide we will walk you through creating your first movement record and Horse Health Declaration. We’ll show you how to store information about places, horses and people.
Before we start
Before we get started make sure you have the following:
Creating the Trip
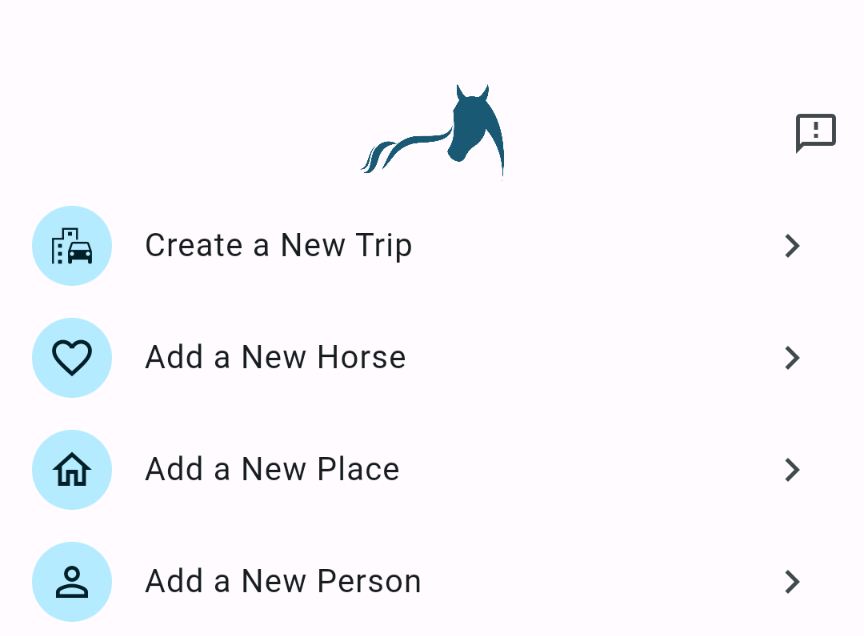
Step 1 - Creation
Open the app and tap the “Create a New Trip” button on the first screen.
Step 2 - Naming
Now create a name for the trip by tapping on the first text field. We’ll name this trip “Example”, but you can name it whatever you want.
Step 3 - Date(s)
Tap on the calendar icon to set the date range, if the trip will last for multiple days or in the case of a competition the horses will be kept there overnight. If you only need one date, select the same one twice.
Step 4 - Tick Lines
This step only applies if you’re crossing a tick line. If you are, tap on the toggle next to the “Crosses Tick Lines” text to activate a text field, summarise what action you took to minimise tick spread here. e.g. “Spraying”
Step 5 - People
The next two fields relate to the people involved. The “Competitor” and “Horse Manager” fields are there for competitions, if this trip is not for a competition it is still a requirement that these are filled out. In the case of a simple movement these fields are both the same person.
Tap on the “Competitor” field. If you’ve already added some people they will be listed here, if the person you want is already there tap on their entry. Otherwise, tap on the pencil button towards the bottom of the screen to create a new one. Tap on each of the text fields to input the necessary information. The last field requests the person’s home address in the form of a ‘place’. Similarly to selecting a person, tapping on the field will give you a listing of previously stored places and the option to create a new one. Input all of the necessary information, the PIC is only required if you intend to reuse this entry as the destination or origin of a trip. Tap the back button at the top of the screen to save your changes, now select the place you just created. Now you can tap the top back button again to save the person. Select the person you just created from the listing. Repeat this process for the “Horse Manager”
Step 6 - Places
Now we’ll add the origin and destination properties. This is the same process as adding a place to a person as we discussed in Step 5.
Step 7 - Horses
Tap the “Select Horses” button and create a horse similarly to how we created a person and place in the previous steps. Back on the horse listing you should see the horse that you just created. Tap on its entry to add it to the trip, if you want to remove it from the trip tap on it again to remove it. If you’re moving multiple horses you add them by creating them (if not already listed) and tapping on their entries. To save your changes tap the back button at the top of the screen. You should now see the horses you added listing at the bottom of the trip screen.
Step 8 - Horse Health Declaration (optional)
At the top-right of the screen there is a “pdf” icon, tapping this will generate a Horse Health Declaration in PDF form that you can print or E-mail to the event organiser.
Step 9 - Saving
Make sure you save the trip by tapping the back button on the top bar.